> ## Documentation Index
> Fetch the complete documentation index at: https://docs.monieswitch.com/llms.txt
> Use this file to discover all available pages before exploring further.
# Quickstart
> Welcome! Follow the steps below to learn how to create your account and start using our APIs and Products
Welcome to Monieswitch! This quickstart will help you set up your account, complete verification, and get ready to accept payments and send payouts in minutes.
By the end, your business will be ready to go live.
**In this quickstart you will learn how to:**
1. [Setup your an account](#setup)
2. [Complete your account setup](#step-two)
3. [Customize your dashboard services](#step-three)
4. [Generate your API keys and Webhooks](#step-four)
5. [Start accepting payments and sending payouts to your users](#step-five).
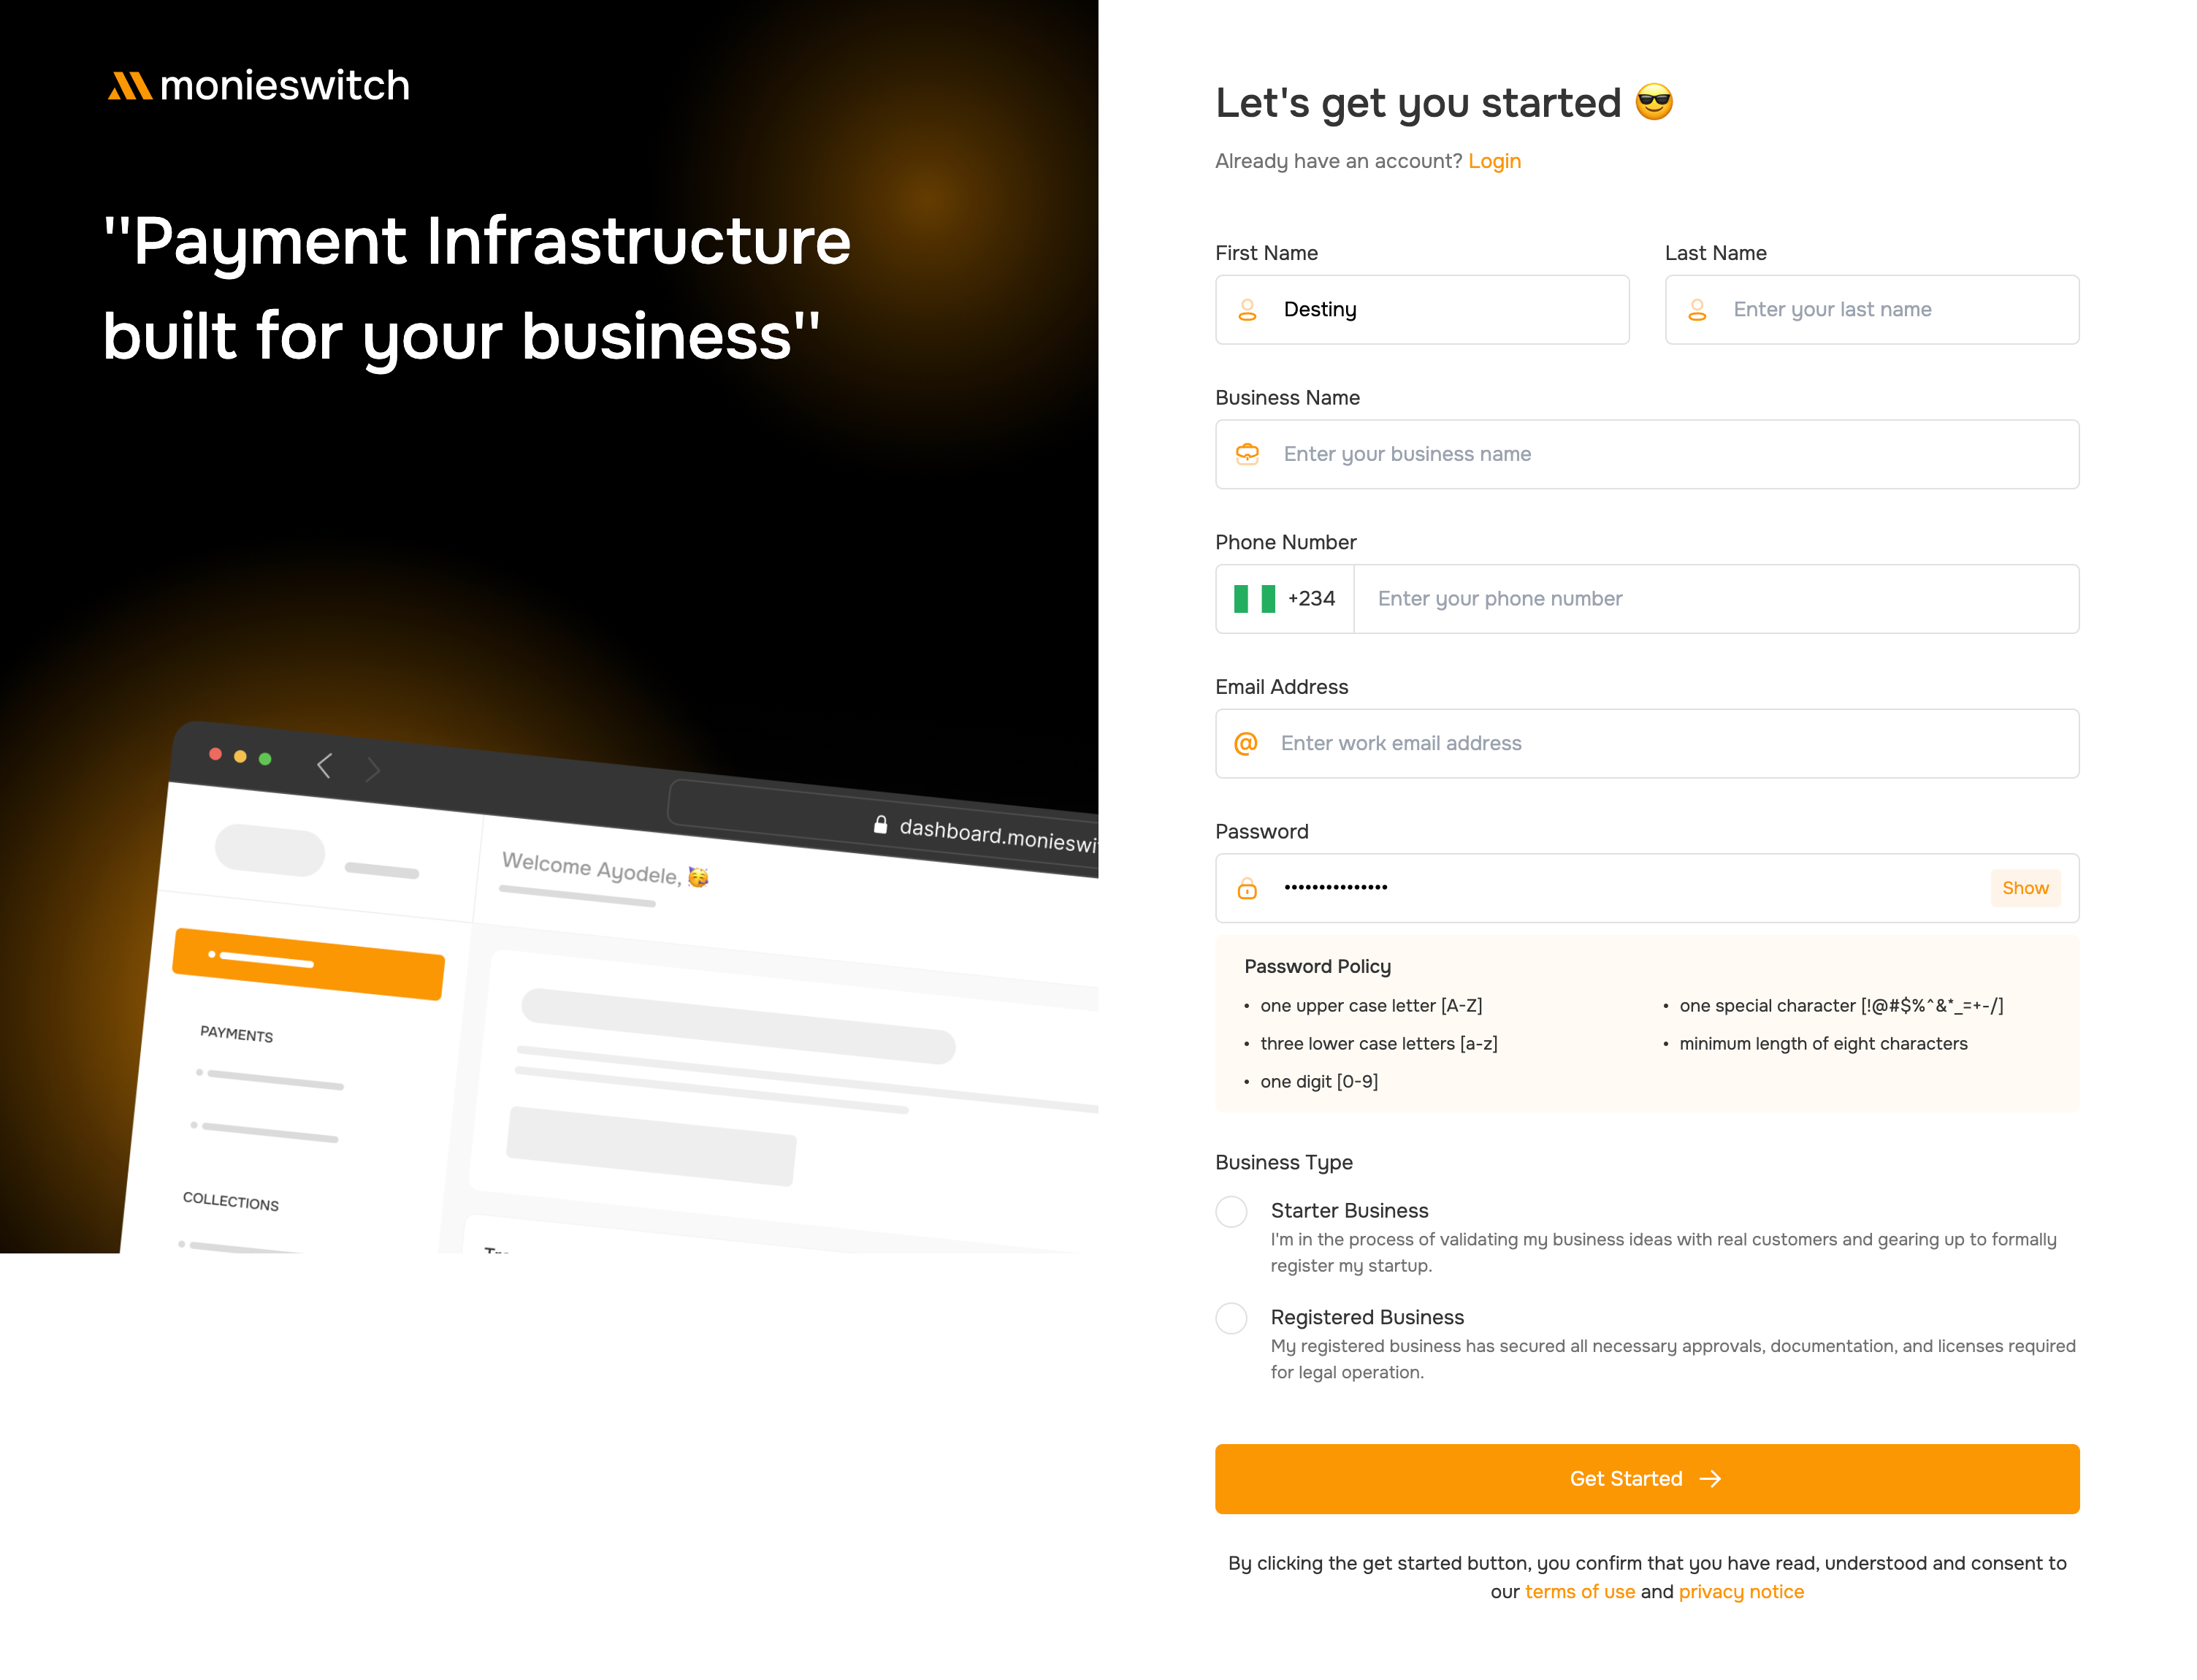
Start your payment experience by [creating a free monieswitch account](https://dashboard.monieswitch.com/register).
You will need to verify your account by clicking on the link sent to your email after registeration.
 ## Account types
Starter business are business that are not duly registered.
### Don't provide:
* Business directors' information
* Registration number
* Business documents
### Restricted access to services like:
* Payouts
* Subaccounts
* Creating wallets
Registered business are business that are fully registered
### Provide complete business information:
* Business directors' details
* Registration number
* Business documents
* **Have unrestricted access to all services**
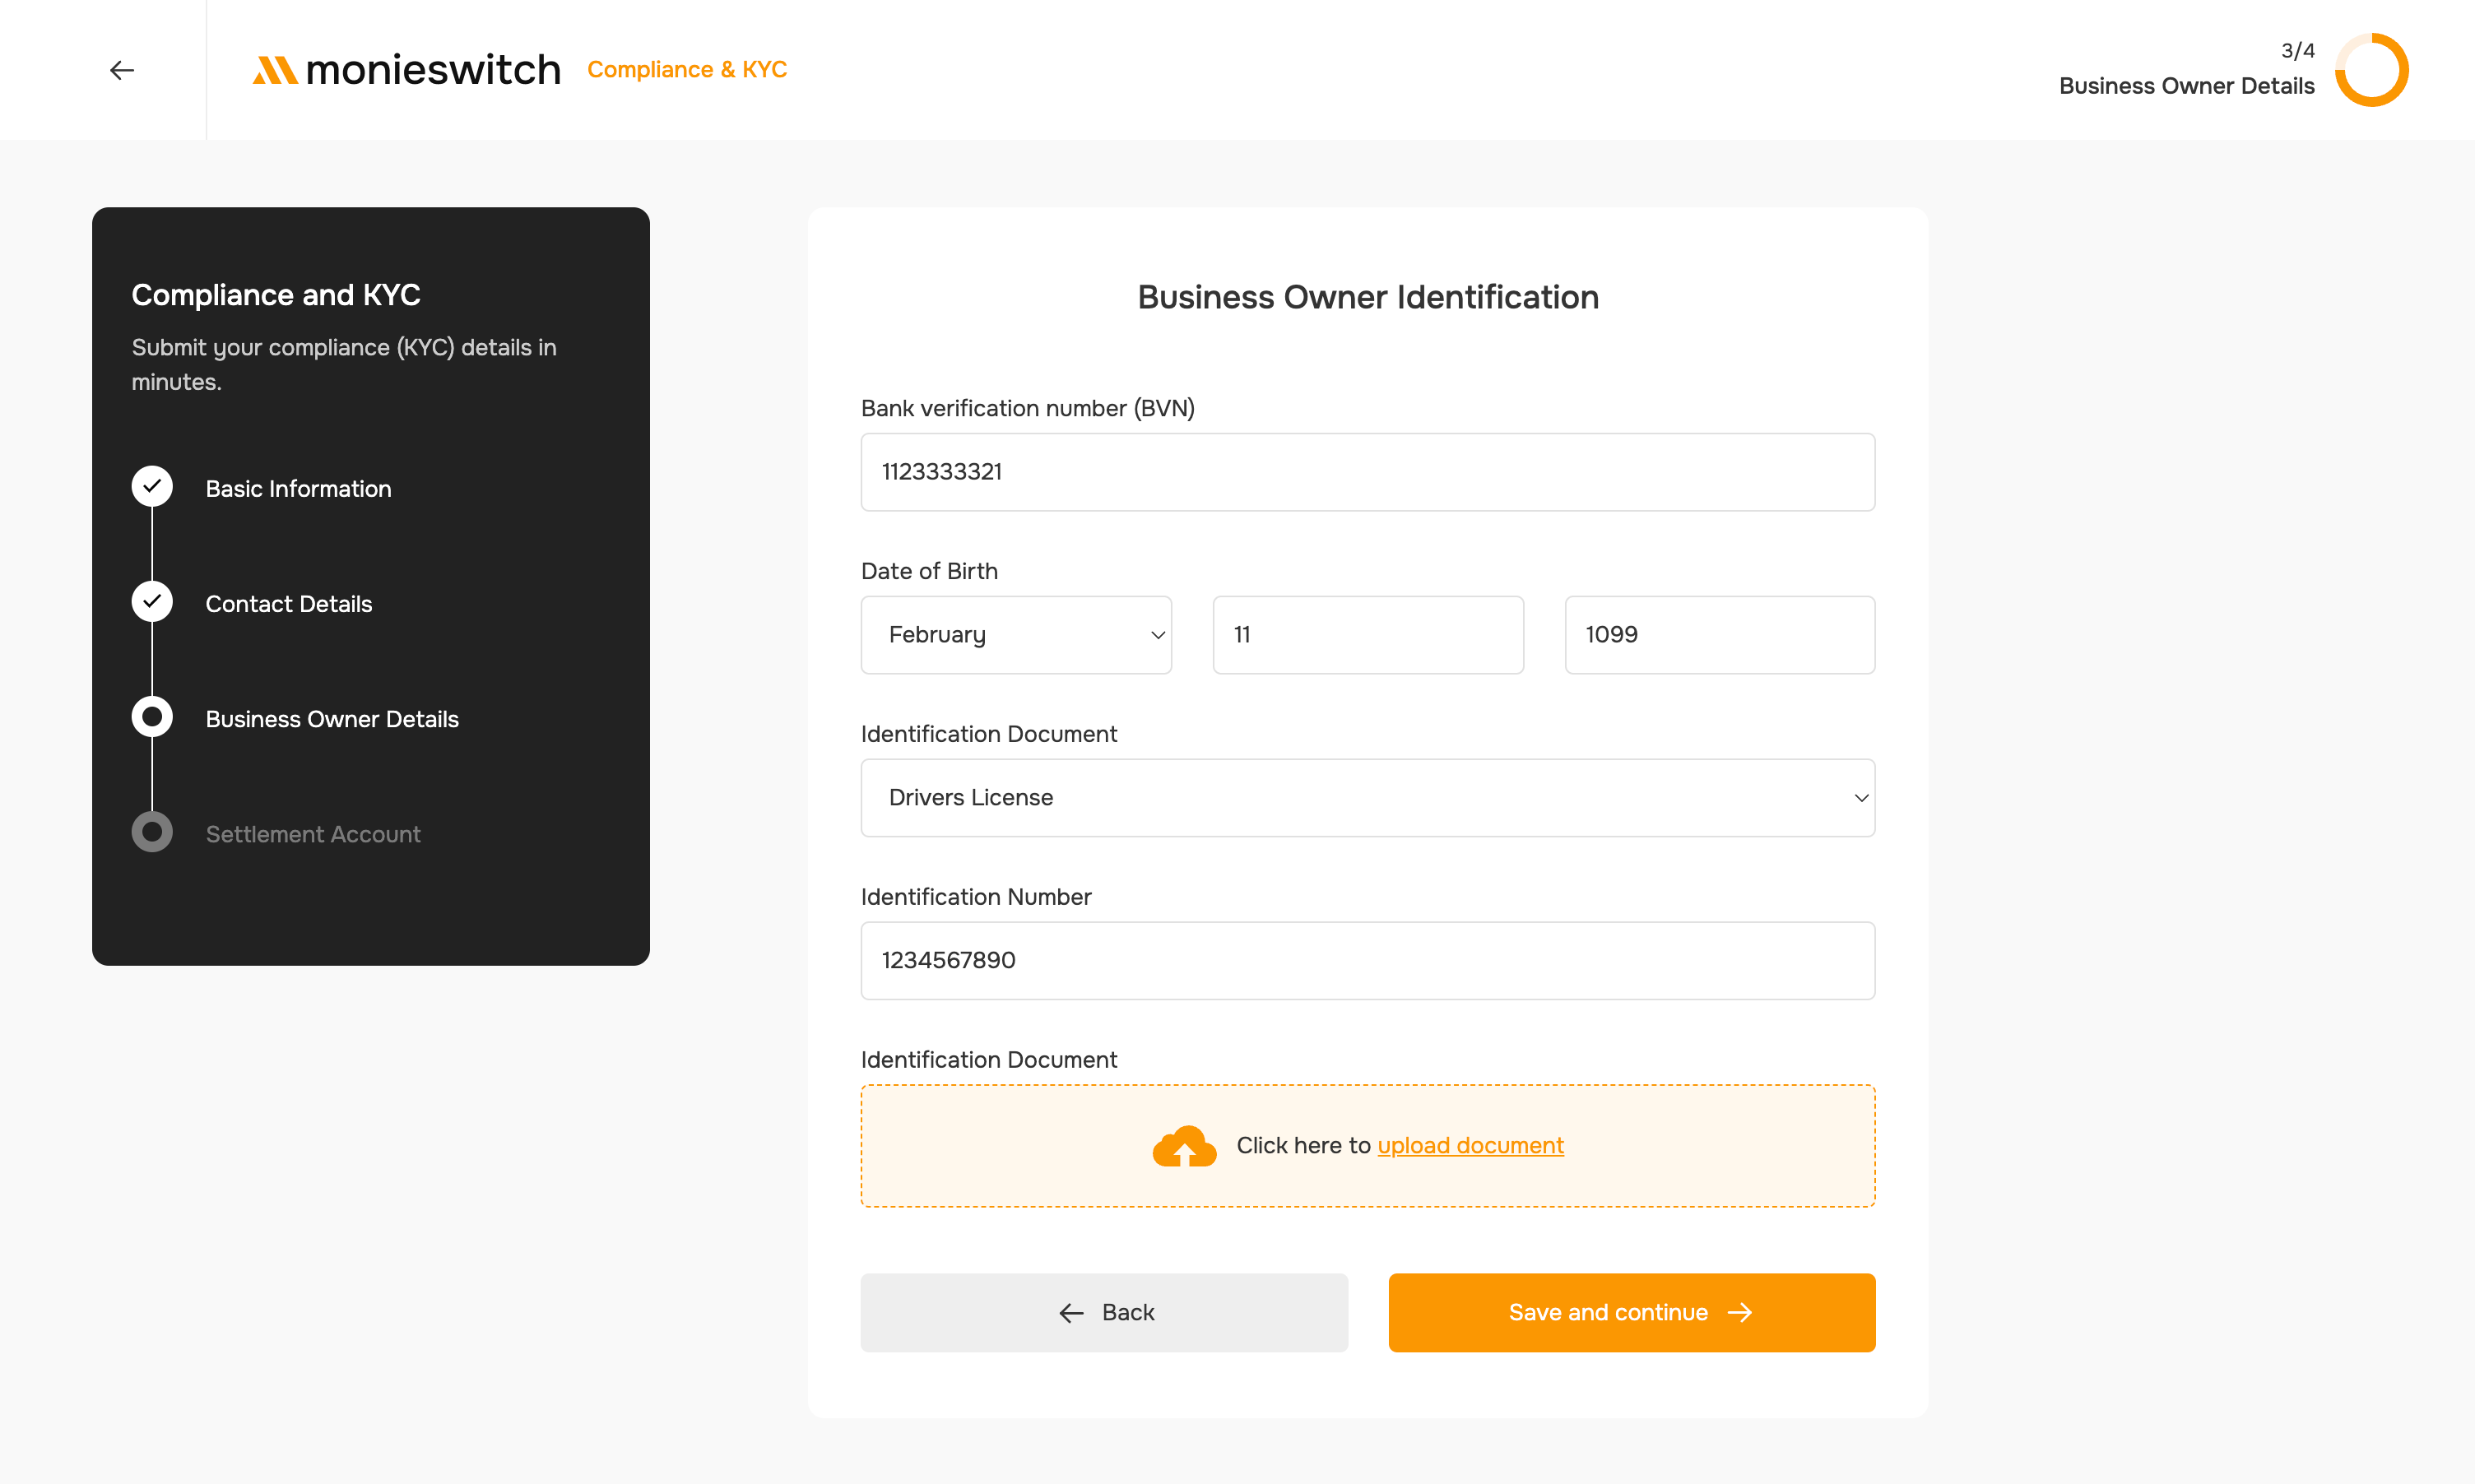
To start using our products and APIs you will need to complete your account by submitting your [KYC information](/account/kyc) through your dashboard.
We will review your documents and profile for verification and approval.
## Account types
Starter business are business that are not duly registered.
### Don't provide:
* Business directors' information
* Registration number
* Business documents
### Restricted access to services like:
* Payouts
* Subaccounts
* Creating wallets
Registered business are business that are fully registered
### Provide complete business information:
* Business directors' details
* Registration number
* Business documents
* **Have unrestricted access to all services**
To start using our products and APIs you will need to complete your account by submitting your [KYC information](/account/kyc) through your dashboard.
We will review your documents and profile for verification and approval.
 Once your account has been approved, you will receive an email notification.
You can now add your **settlement account** and **set your transaction pin**. Afterwards you can proceed to fully utilise our products and APIs integrations.
By default, you will see fewer services on your dashboard.
You can add more services by clicking on the **Add more service** button on your dashboard under **Quick Actions**.
This services will allow you manage your business payment requirements more effectively. Learn more about our services [here](/account/add-services.mdx).
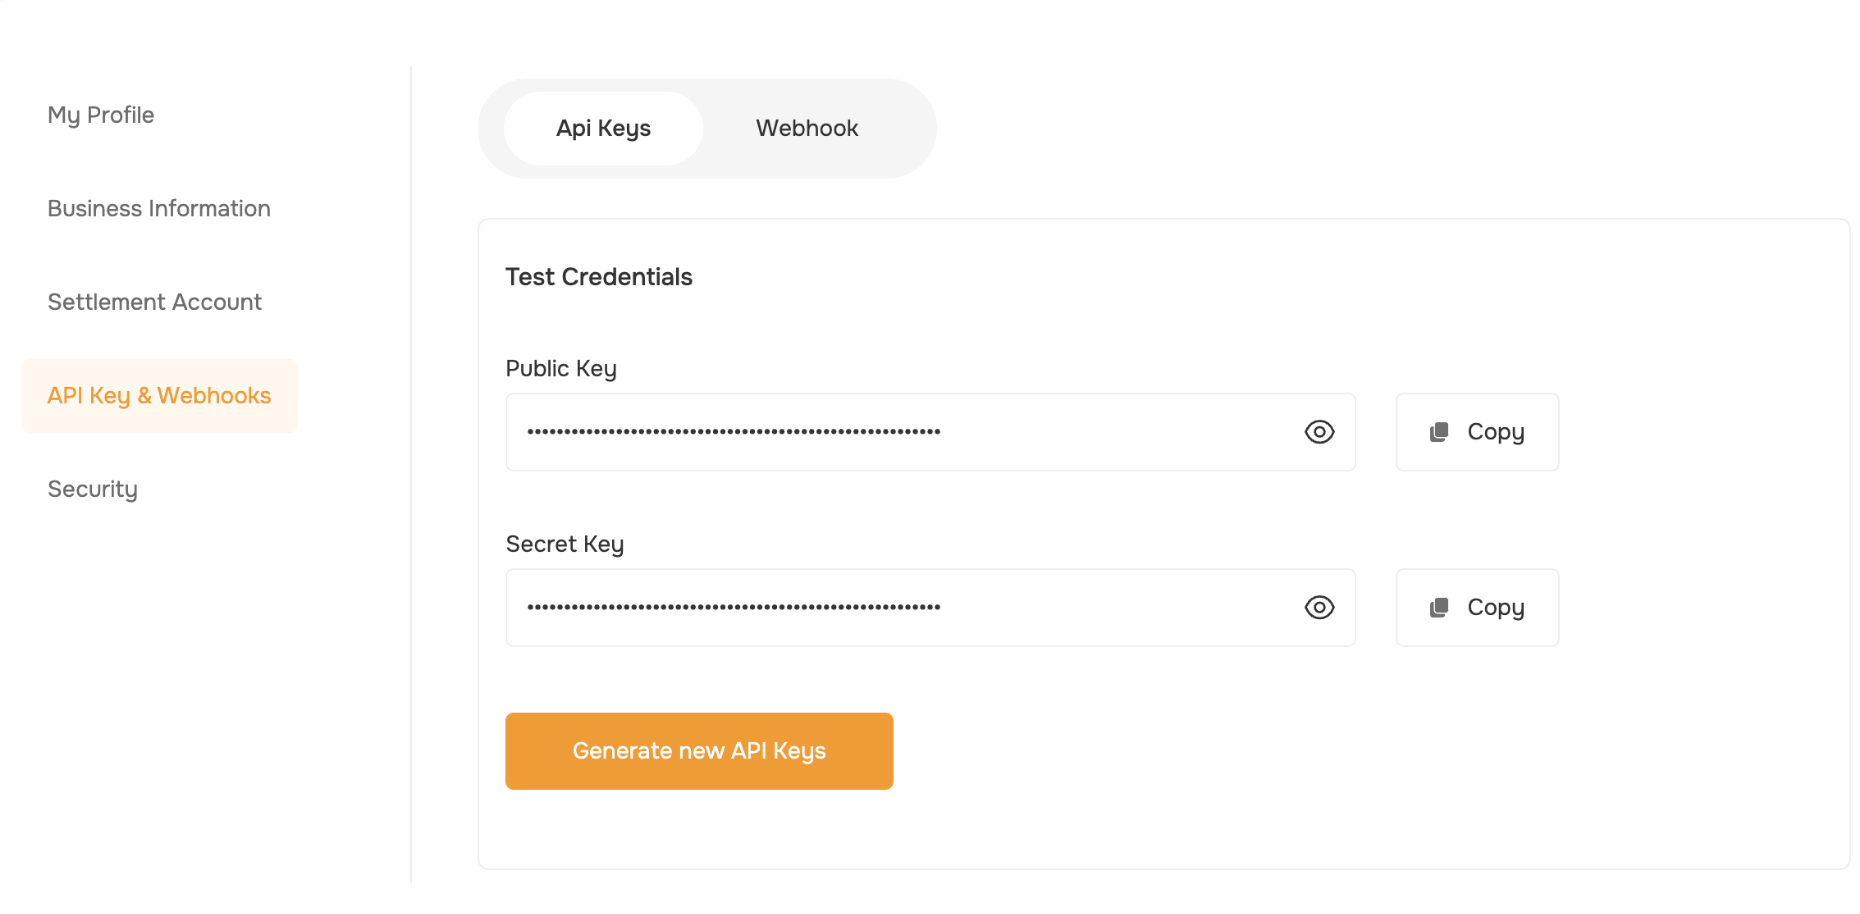
On the settings page, you will see your API keys. You can generate new keys by clicking on the **Generate new API Keys** button.
This will generate two keys, a public key and a secret key. You will need these keys to authenticate your requests to our APIs.
Once your account has been approved, you will receive an email notification.
You can now add your **settlement account** and **set your transaction pin**. Afterwards you can proceed to fully utilise our products and APIs integrations.
By default, you will see fewer services on your dashboard.
You can add more services by clicking on the **Add more service** button on your dashboard under **Quick Actions**.
This services will allow you manage your business payment requirements more effectively. Learn more about our services [here](/account/add-services.mdx).
On the settings page, you will see your API keys. You can generate new keys by clicking on the **Generate new API Keys** button.
This will generate two keys, a public key and a secret key. You will need these keys to authenticate your requests to our APIs.
 Keep your secret key safe and do not share it with anyone.
These keys will be used to authenticate your requests to our APIs.
You can also configure your webhooks to keep track of all your activities on our API.
Learn more about webhook [here](/features/payments/webhook).
You can now start accepting payments and sending payouts to your users through our easy to use dashboard or by integrating our APIs into your application.
Choose from our various [payment methods](/features/payments/introduction) to build your payment integrations.
## Learn More
Learn about KYC requirements
How settlement accounts work
Account security checklist
Keep your secret key safe and do not share it with anyone.
These keys will be used to authenticate your requests to our APIs.
You can also configure your webhooks to keep track of all your activities on our API.
Learn more about webhook [here](/features/payments/webhook).
You can now start accepting payments and sending payouts to your users through our easy to use dashboard or by integrating our APIs into your application.
Choose from our various [payment methods](/features/payments/introduction) to build your payment integrations.
## Learn More
Learn about KYC requirements
How settlement accounts work
Account security checklist